Ecosystem
Use LedSC standalone over Modbus RTU, or plug it into a higher-level stack (WebSC, Home Assistant).

HA integration

WebSC

Libraries

Documentation
Smooth color change
Set a color + transition time and the device fades continuously (no stepping).
After entering the command to change the color, the device does not change the color stepwise, but continuously. This transition time is adjustable. In your software, you can therefore do more complex things than the exact timing for the color transition effect.
Configuration
LedSC stores configuration in internal memory and exposes it over Modbus RTU.
The device has a configuration that is stored in the internal memory. It can be accessed using the ModBus RTU protocol.
Modbus RTU configuration
Settings include the slave-id. It is very important not to connect more devices with the same slave-id to one bus. You can also configure other parameters of the serial bus (baud-rate, parity).
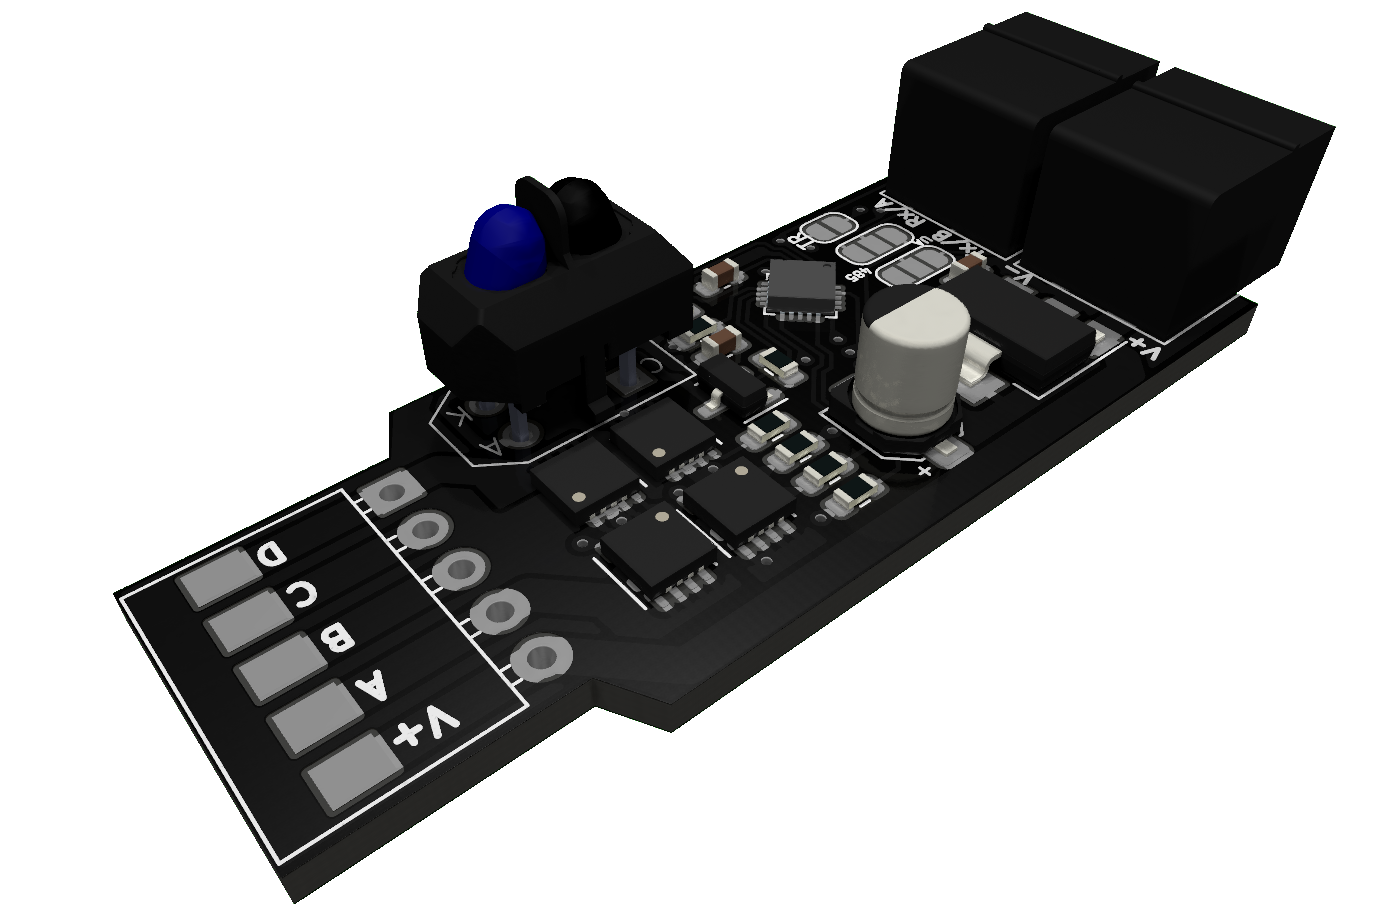
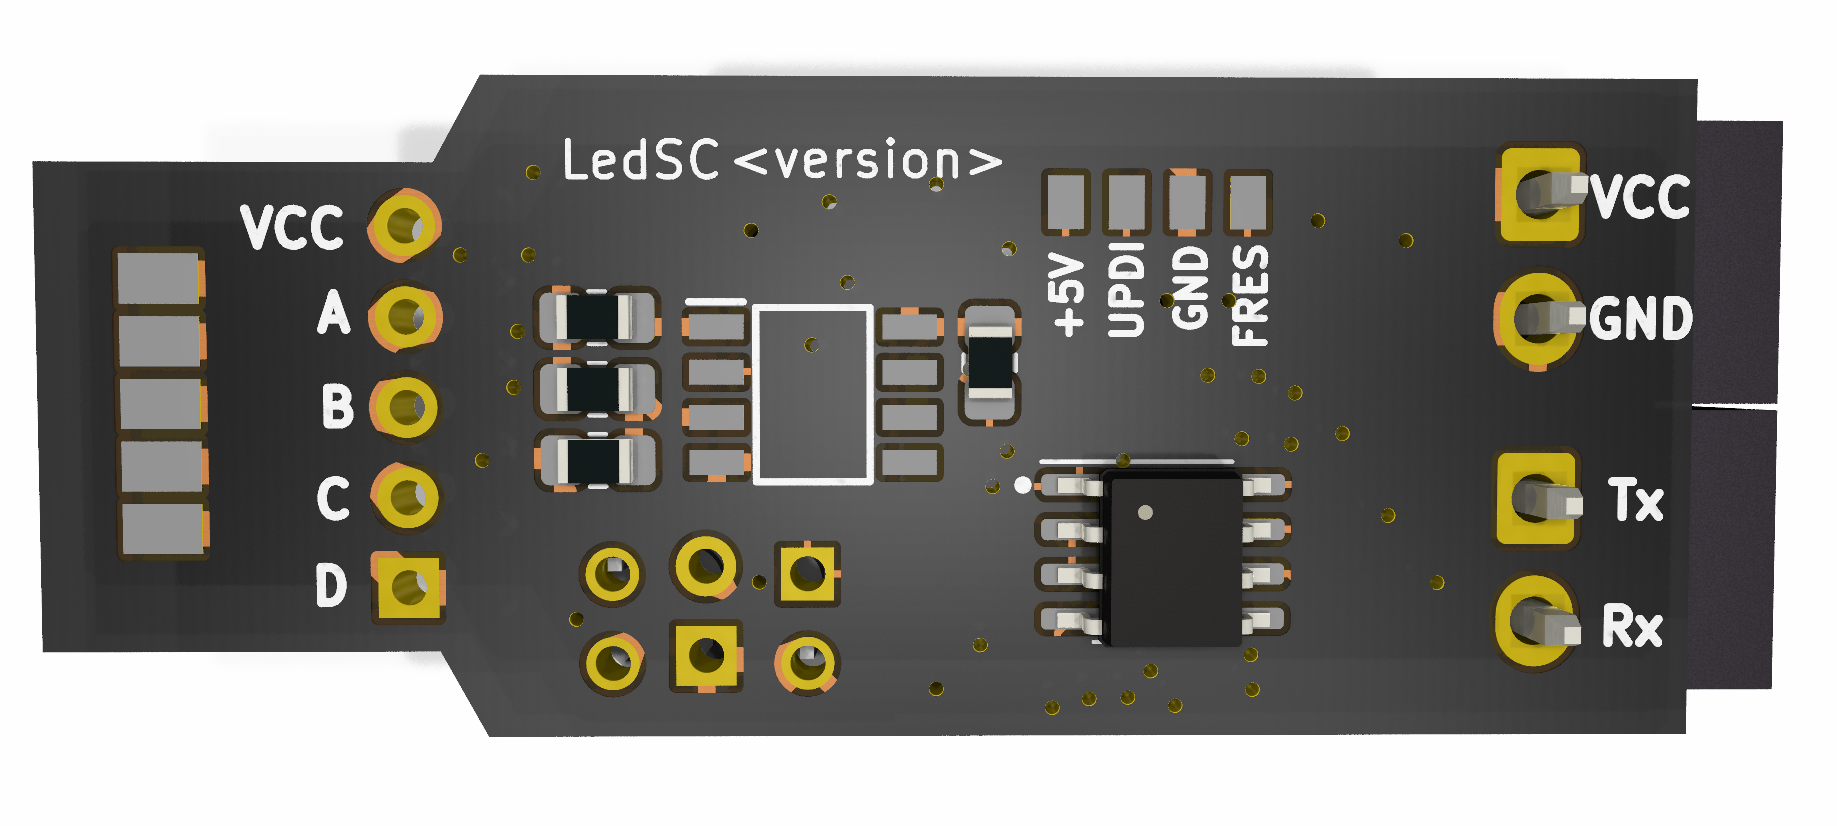
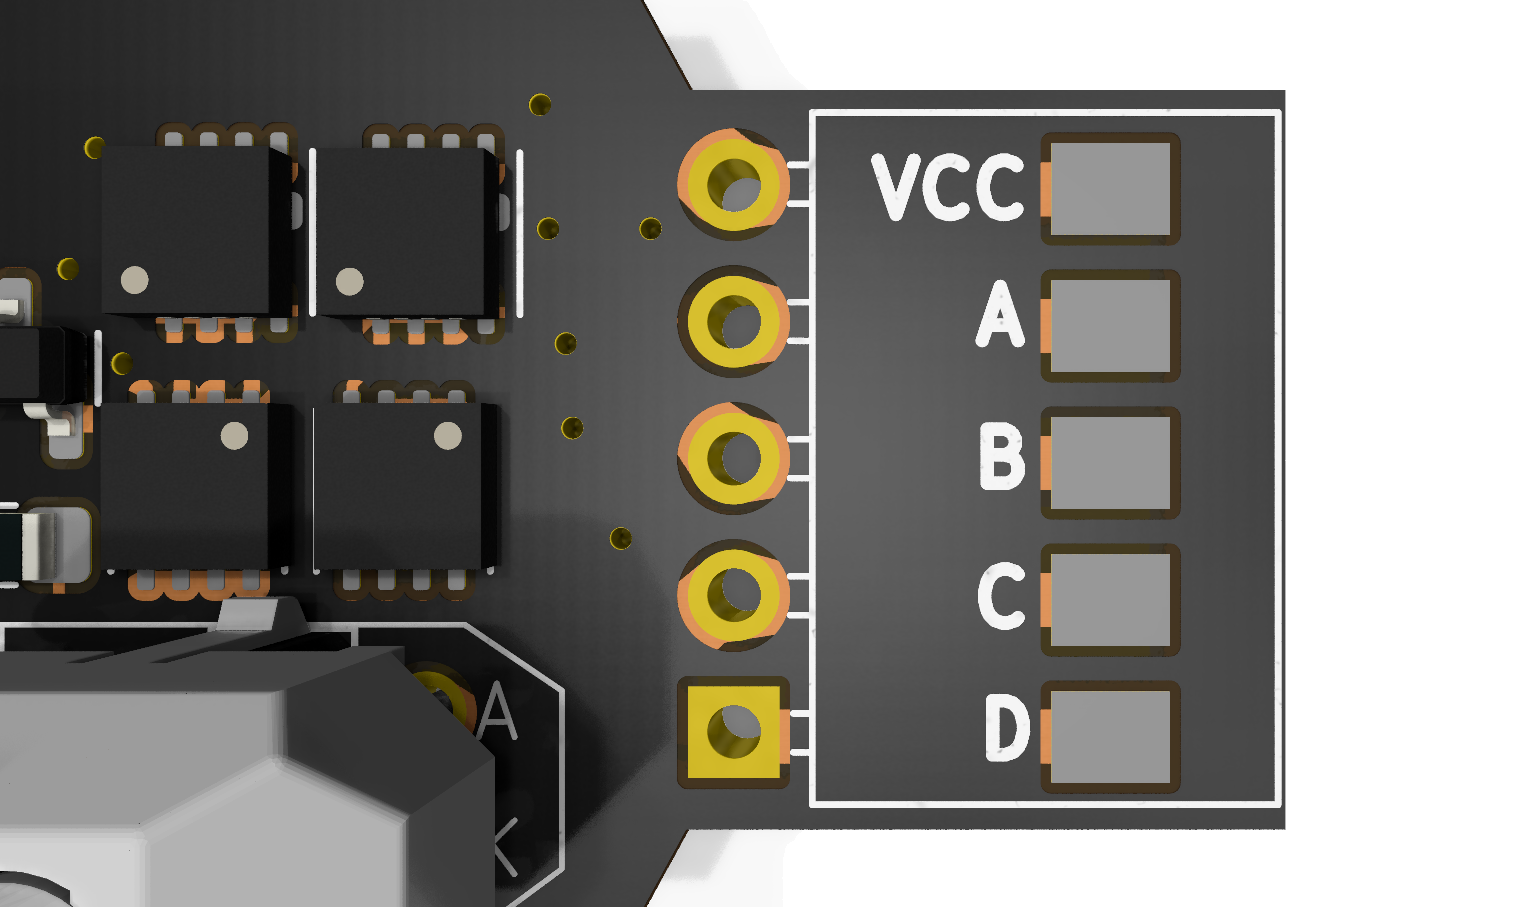
Channel configuration
At the output of the device there are channels A, B, C, D. You can assign individual colours to each channel and then control the device using colours based on this mapping.
Default color
The default color is set if there is no other color after the device starts and the proximity sensor event is triggered.
Enable proximity sensor
If you don’t want to use the proximity sensor to control the device, you can turn it off. Calling this event over the Modbus protocol will still work.
Enable Light on start
Configure whether the light should be on after connecting (or restarting) the device to the power supply. The device can be used as a simple dimmer.
Factory reset
If the configuration puts the device into an unusable state (unable to connect using the ModBus RTU protocol), you can perform a factory reset.
Hardware limitations
- Power voltage: 5–24 V (choose according to your LEDs)
- Max current: 7 A (continuous)
- Max peak current: 15 A
- Max current per channel: 4 A
- Temperature range: -10 to 80 °C
- Proximity distance: 30 mm
IMPORTANT: Power voltage goes directly to output. Always select the supply voltage for your LED strip.
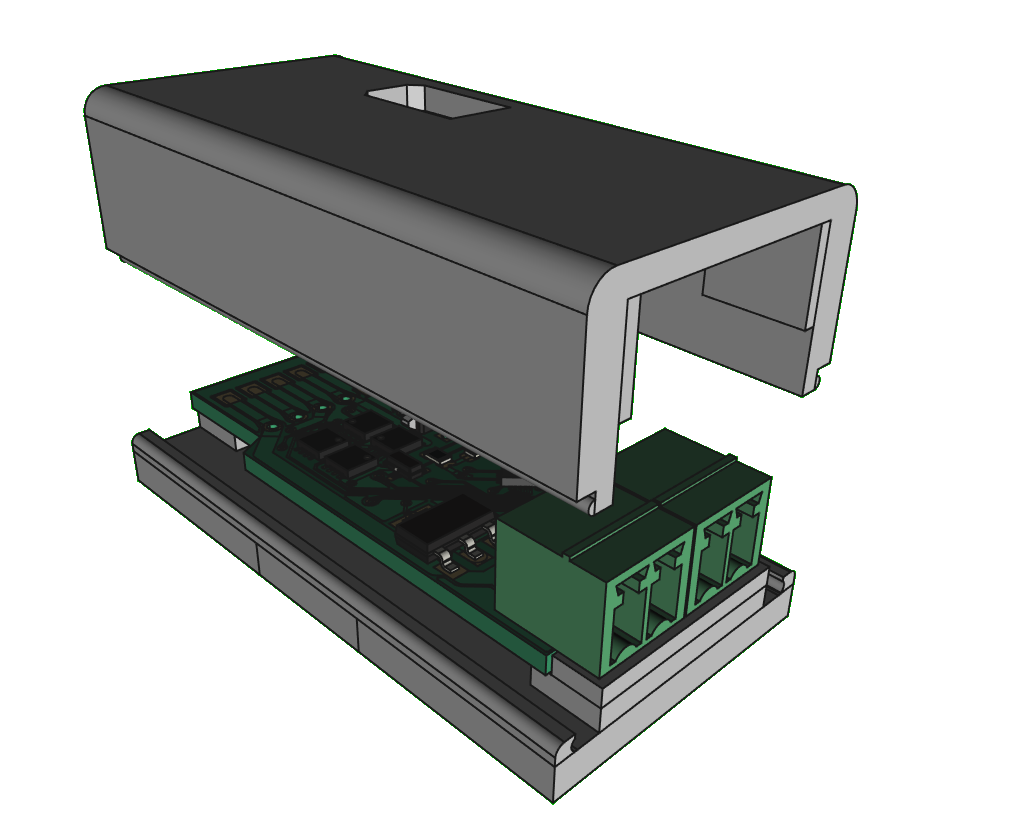
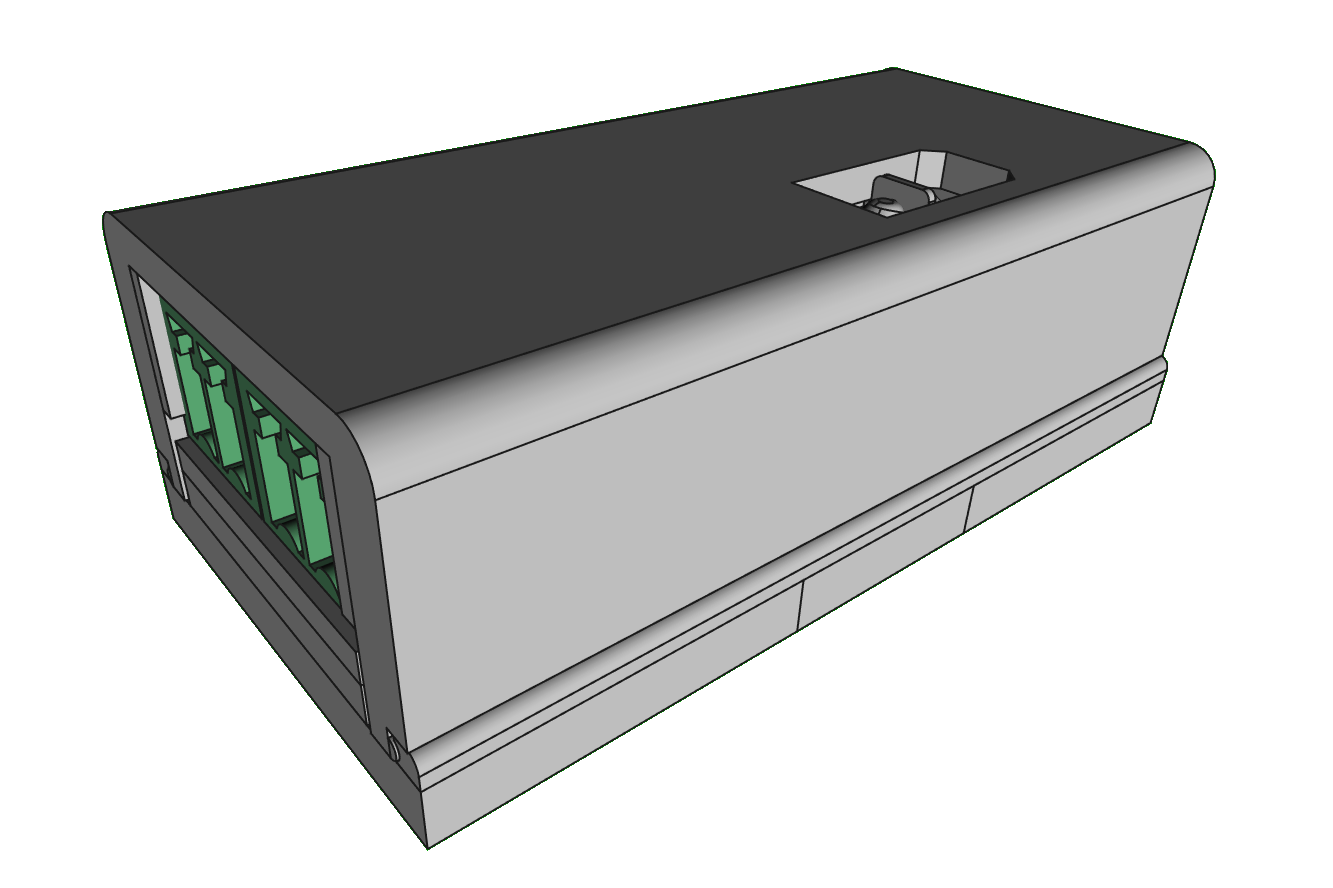
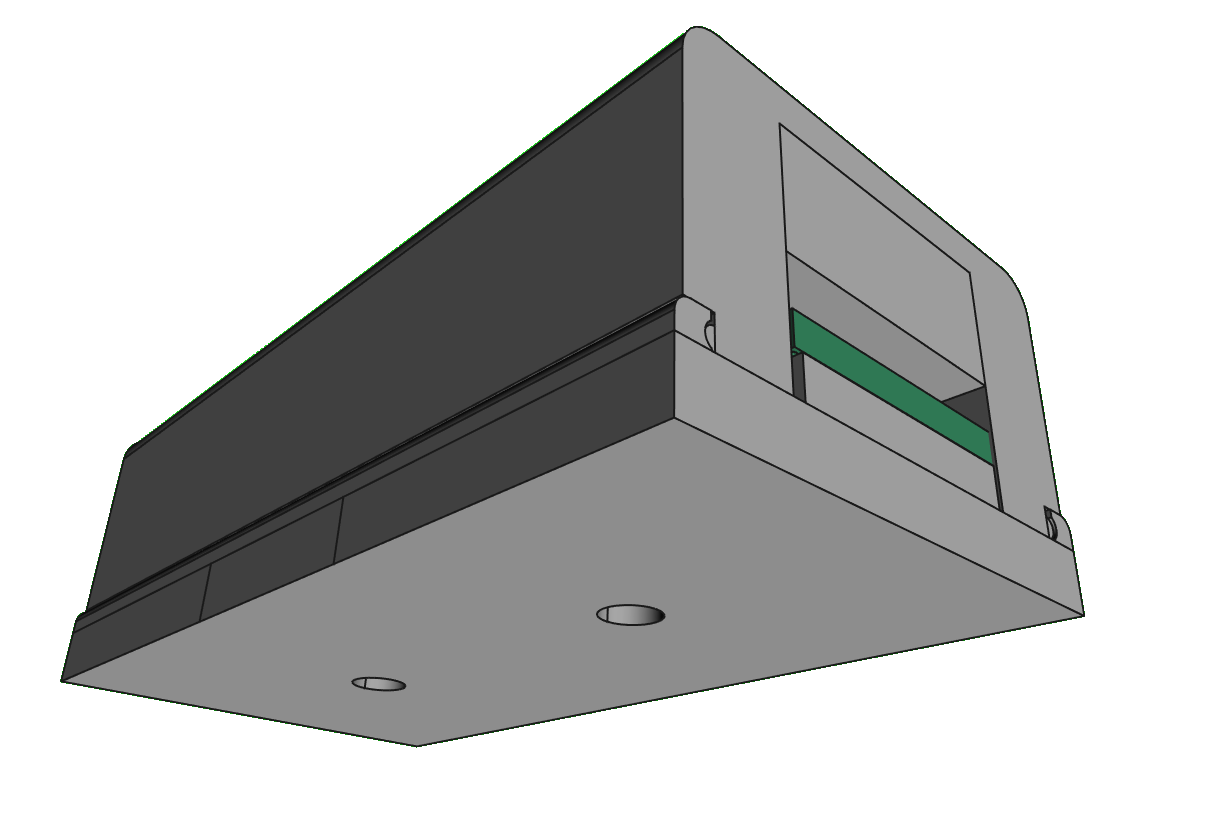
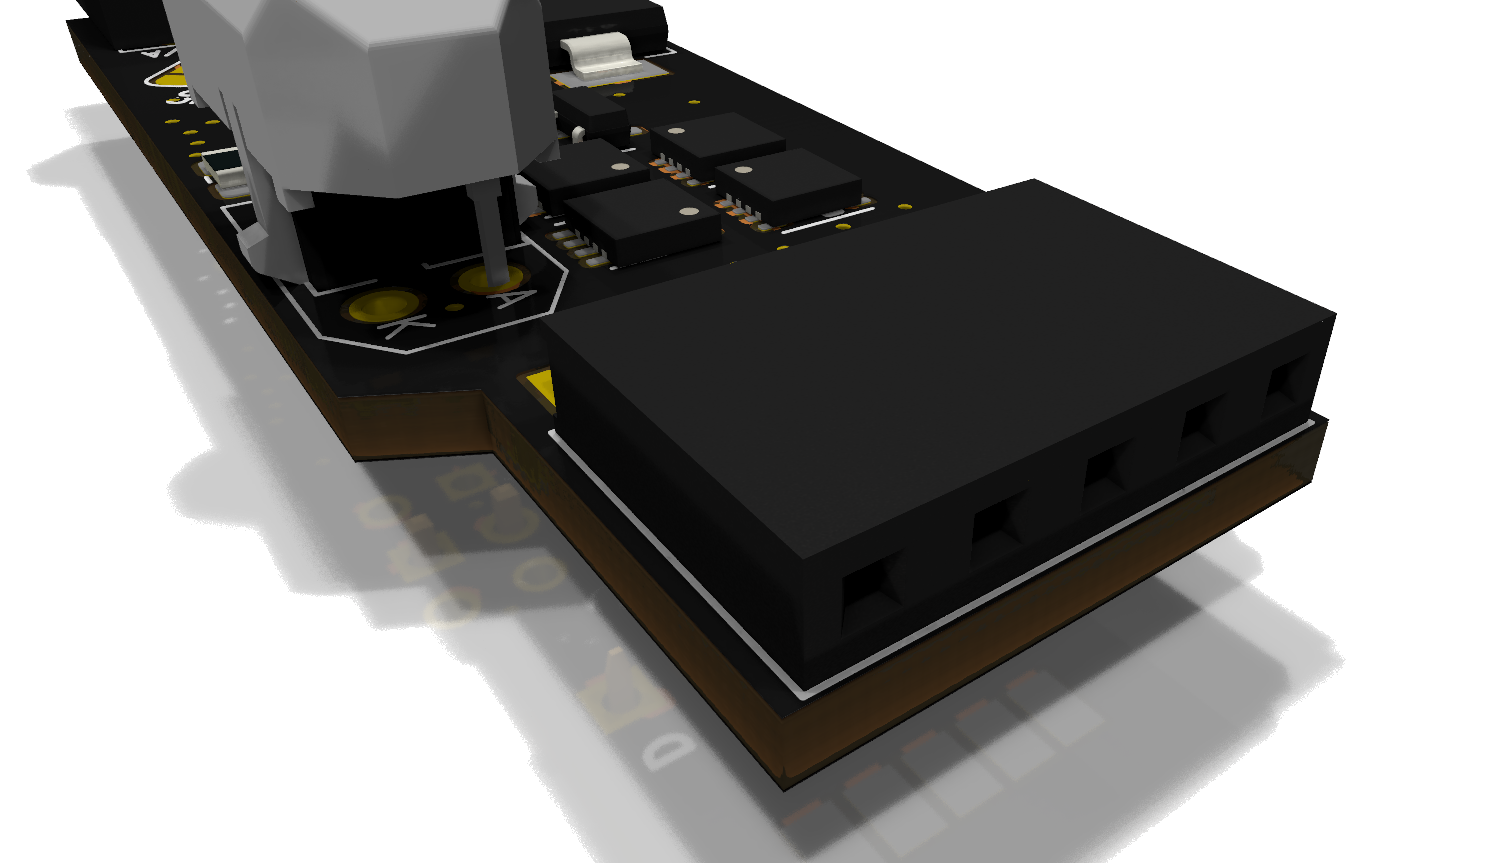
Case
A snap-in enclosure: one part attaches to the wall, the other clicks on top.
A box into which you can insert the device. The box is composed of 2 snap-in parts. One part you attach to the wall and the other you just click.
Multiple LED strip interfaces
LedSC supports connection of several types of LED strips / wiring styles.
Soldering pad 1.8 mm
Soldering pad 2.54 mm
Pin header 2.54 mm
Downloads
Firmware, libraries and 3D models (placeholders – replace with final files/links).
Where to buy
List of resellers and distributors (placeholders — we’ll add partners as they become available).
TBD reseller #1
TBD reseller #2